Hand Painted Watercolor Christmas Cards (Easy Peasy)
Did you put up the Christmas tree yet ?
Are you ready to mail out those cards ?
I think sending hand-painted watercolor cards for Christmas is perhaps one of the best ways to show people your affection for them. It adds a personal touch that’s always appreciated.
Especially this year, because we probably won’t get to see as many folks as we would like.
So I wanted to show you some quick and simple ways to make your own cards with watercolors. All of these designs are easy to reproduce and quick to paint. And if you want to copy my designs, you can download the sketch templates for all these paintings below.
In this tutorial I’ll explain the process and techniques I used to make these easy watercolor Christmas cards.
Making cards like this is a lot of fun so put on some “Bing Crosby” tunes and grab your paints ! After all… Who doesn’t like “White Christmas” !? It’ll help get you in the mood …
Easy Watercolor Christmas Card Ideas
If you’re looking for ideas for painting watercolor cards this Christmas then I think you’ll like this easy to apply painting process.
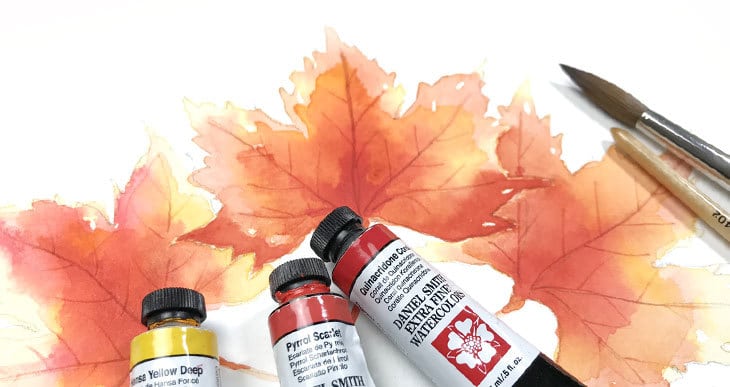
I’ve chosen four typical Christmas symbols for my own paintings, but there’s nothing to stop you adapting this painting method to any kind of Christmas design you like.

I’m going to demonstrate how to paint both a “negative” and “positive” version of each design.
Negative painting refers to the idea of “negative space”. Every subject you paint includes negative and positive space.
In general, a positive shape is the subject itself, whereas a negative shape is everything that surrounds the subject.
For example, if the tree is the subject of the painting you can either choose to paint the tree itself (the positive shape), or alternatively paint around the subject (the negative shapes).

Each of my cards were painted using watercolor postcards. These are ready-made postcards that are fabricated using watercolor paper so you can paint directly onto the surface. I think these are a great idea for this kind of use ! And I’ve seen more and more products like this available, so they’re quite easy to find (For example, these ones on Amazon use artist grade 100% cotton paper).
But if you don’t have pre-made ones like this you can simply cut up a sheet of watercolor paper (just make sure they fit in your envelopes!).
The only other equipment you’ll need for these paintings is a roll of masking tape and some watercolor masking fluid(this is cheap and easy to find and it’s the kind of thing I use regularly for watercolors).
Watercolor Christmas Cards Tutorial Step by Step

Try this painting for yourself ! Click the button below to download the worksheet for this painting.
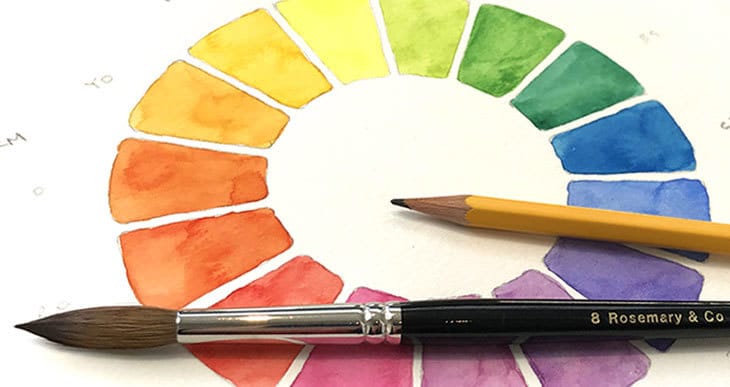
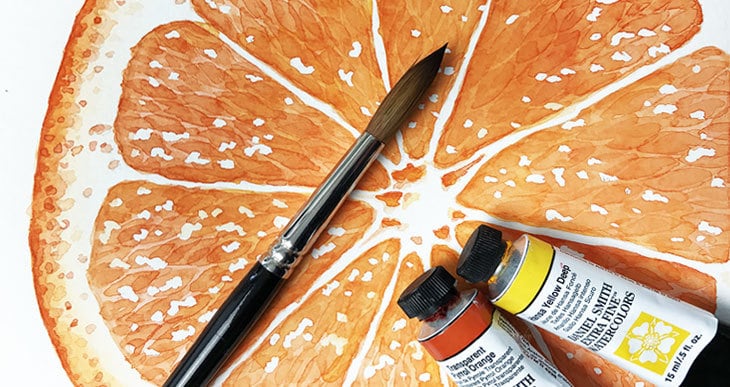
You can download the template for painting these designs using the button above. All of the colors I used were Daniel Smith paints as in the list below (links go to Amazon). I’ve provided the pigment numbers in case you need to find an equivalent in another paint brand.
- Hansa Yellow Deep – Pigment number: PY65
- Phthalo Green BS – Pigment number: PG7
- Phthalo blue GS – Pigment number: PB15:3
- Prussian Blue – Pigment number: PB27
- Quinacridone rose – Pigment number: PV19
- Pyrrol scarlet – Pigment number: PR255
Start by sketching the Christmas tree design onto a card, then tape it down onto a board using masking tape to create a margin around all four edges.
Use the edge of a flat object to fix the masking tape down firmly onto the paper. Doing this helps avoid paint from running under the edge of the tape and ruining the white margin.
Before you start painting, apply a few lines of masking fluid in a pattern that fans out from the center. To make this process easier, begin with vertical and horizontal lines going through the middle of the page and use these as a guide for the other lines.
At the same time draw a frame of lines around the edges close to the masking tape. Leave the masking fluid to dry completely before moving on to the next stage.
Mix up some green paint and start painting around the Christmas tree shape. This first painting is the “negative” version, so we start by leaving the tree untouched and apply paint to the negative background shape.
When you’ve finished, and while the first layer of paint is still wet, add some darker color to the outer edges of the card. Adding wet brush marks to a wet surface helps the colored pigments to fuse and blend together. (This is a painting technique known as wet-in-wet).
The overall effect is to create a gradient of color from dark to light, which adds some variation and interest rather than simply painting a uniform color.
The final step is to use the pointed tip of your brush to add some detail to the interior of the tree.
Leave the paint to dry completely, then use a kneaded rubber to remove the masking fluid. Then carefully remove the masking tape from around the edges.

Now that the negative version is complete, let’s have a look at the method for painting a “positive” version of the same design…
Start in exactly the same way as before, taping down the card onto a board and making sure the edges are well fixed down onto the paper.
This time, use the masking fluid to draw the detailed lines inside the tree shape, then leave the fluid to dry completely.
By the way, I’m using a bamboo quill pen to apply the liquid masking, but whatever you choose, use something which you don’t mind getting messed up ! Dried masking liquid will ruin your brushes.
Begin by painting a frame around the edges. To do this, drag the brush so that it overlaps the masking tape to help you paint a thin straight line.
Since this is the “positive” version of the card, the next step is to paint the tree shape itself.
Finally, paint the radiating pattern of lines using the same method as before. Start with horizontal and vertical lines running through the middle of the page, then you can add the diagonals going into the corners, and use the first lines as a guide for the other brush marks fanning out from the center.
Leave the paint to dry before you remove the masking liquid. Then slowly peel off the tape around the edges.

This gives us the positive and negative variations of the Christmas tree design. But the method for the other Christmas cards is pretty much the same thing.

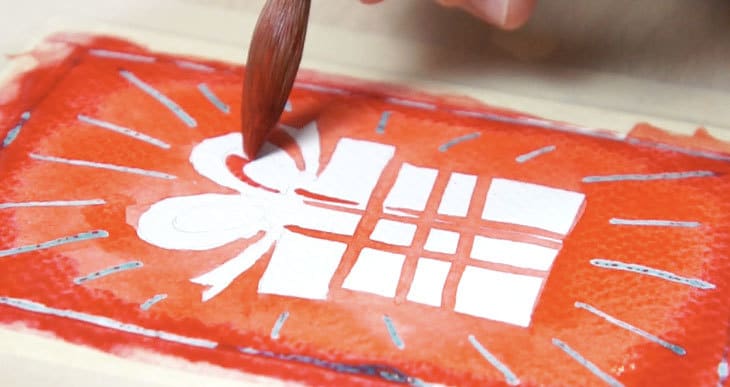
Here’s the process for the “gift box” design, starting with the negative version.
After you fix down the watercolor card with masking tape, use the masking fluid to create the same kind of pattern as before, with lines spreading out from the center of the card, and a line around the border.
No need to apply any masking fluid to the gift box shape itself.
When the liquid is completely dry, add some details to represent the ribbons. Then paint the negative shape around the gift box.
Once again, to add a bit of variety to the colored wash, use a wet-in-wet technique to add a darker toned color around the edges of the card. Don’t forget to fill in the gap between the ribbons.
Leave it to dry, then remove the masking fluid and the tape… And that’s all there is to it !
Et voila !

Moving on to the positive variant of this design… This time use the masking liquid to cover the ribbons in the middle of the gift box.
Add a colored frame to the card using the masking tape as a guide and letting your brush strokes overlap slightly onto the paper.
When this is done you can paint the positive shape of the gift box itself.
All that’s left is to add the lines extending out from the center towards the edges.
Let everything dry before you try to remove the masking fluid and the tape. If you try to do this too early you risk smudging the damp paint.
And now you have exactly the same design as before but this time as a positive painting.

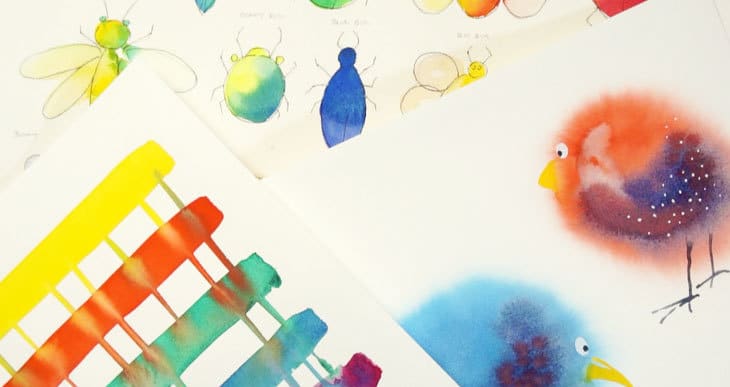
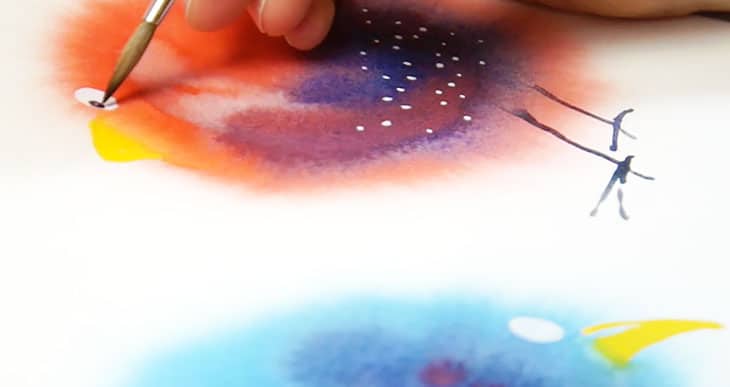
By now I think you’re probably getting the idea of how to apply this method. I went on to paint two different versions of a star design, using a blue color to represent the idea of a night sky.
Don’t forget that with the negative versions you use the tip of your brush to add colored details to the interior of the shape, but with the positive version you need to apply the masking fluid first, so that these details appear white when the painting is complete.
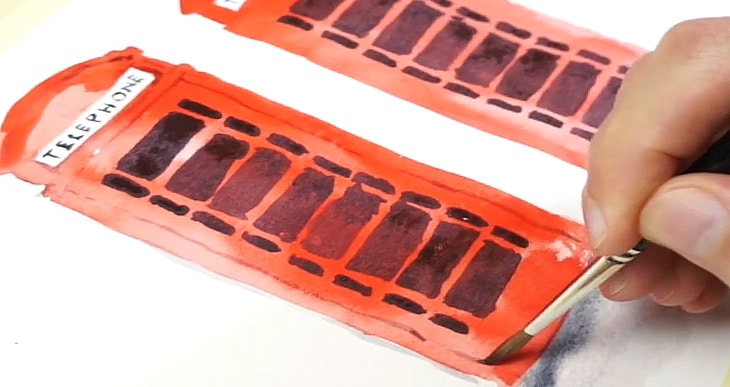
The final design was a Christmas stocking which I chose to paint in yellow, (with a hint of orange).
Again, if you want to get a copy of these designs to use for your own watercolor Christmas cards then just follow the link below this video to download the worksheet on my website.
All that’s left for me to do is wish you a very merry Christmas wherever you are in the world !

This sounds great, but I have one question. In my experience if I paint over dried watercolor the dried color mixes with the new paint, and when using water on top of long since dried paint (a years old project that I revived) it all got runny and mixed together. So how do you prevent that from happening with a postcard if it gets wet? I mean, if it rains and the water leaks through the envelope, something that happens quite frequently here.
Hi
There are a couple of things to consider. If your paint lifts off very easily after drying (in other words, the paint re-activates and mixes with the new wash) then you probably have an issue with the type of paper.
It’s common for this “reactivation” to happen with some student grade papers. On the other hand, with 100% cotton paper like Arches, it’s more difficult to “lift off” the color.
And to answer your second question – I would put the postcard in an envelope to protect it!
Hope that helps 🙂
How fun! I can’t wait to try this! Do you have to stretch the watercolor postcards? What do you put your watercolor papers on to dry when you stretch them?
Thank you so much and Happy Holidays!
Nancy in Wisconsin
Hi Nancy
No need to stretch the postcards, they stay pretty flat.
When you do stretch paper you have a choice of supports. I just tend to use a wooden drawing board.
You might find this article about stretching watercolor paper useful
You often give links and suggestions. What about those bamboo quill pens? Thanks
Hi Doreen
This kind of thing on Amazon is what I use…
I love the images you use to teach a skill. I find them much easier to learn from than a video and allows for more freedom.
Thanks Susan !
Very helpful. Merry Christmas!
Merry Christmas Janet 🙂
I LOVE YOUR IDEAS, AS AN ARTIST MYSELF, I ALWAYS LOOK AT OTHER ARTIST TO SEE HOW THEY APPROACH PAINTING..
THANK YOU FOR SHARING. MAY YOU AND YOUR FAMILY HAVE A MERRY CHRISTMAS.
Thaks … You too Pam !
Thank you! Thank you also for including the star.
Thanks Antony
Your tips and techniques have been so helpful, as I am a beginner in painting, but love it.
Thank you for the nudges that turn into inspiration
Thank you Anthony for sharing your knowledge and have a Merry Christmas and may the next year be full of health and prosperity for you and your family.
Thanks Juan
Hope you enjoy the holiday season (and get a bit of watercolor painting done too!)
Thank you Anthony! These are fun cards to make. I’m glad to learn that you use masking fluid. The negative and positive technique for same design makes interesting variations. Merry Christmas!
Thanks Deborah !
happy Christmas to you too…
Love these thank you. Question it looks like you are using a pencil or a brush to apply the mask. How do you remove the mask from this tool. I tried using a brush and it was a sticky mess.
Hi Kathy
I used a bamboo quill pen for the liquid masking. You can just peel the masking off when it dries.
Brushes are tricky to clean after using them with masking fluid. One thing you can try is coating the brush with soap before dipping it in the masking fluid – this can help protect the hairs and make it easier to clean afterwards.